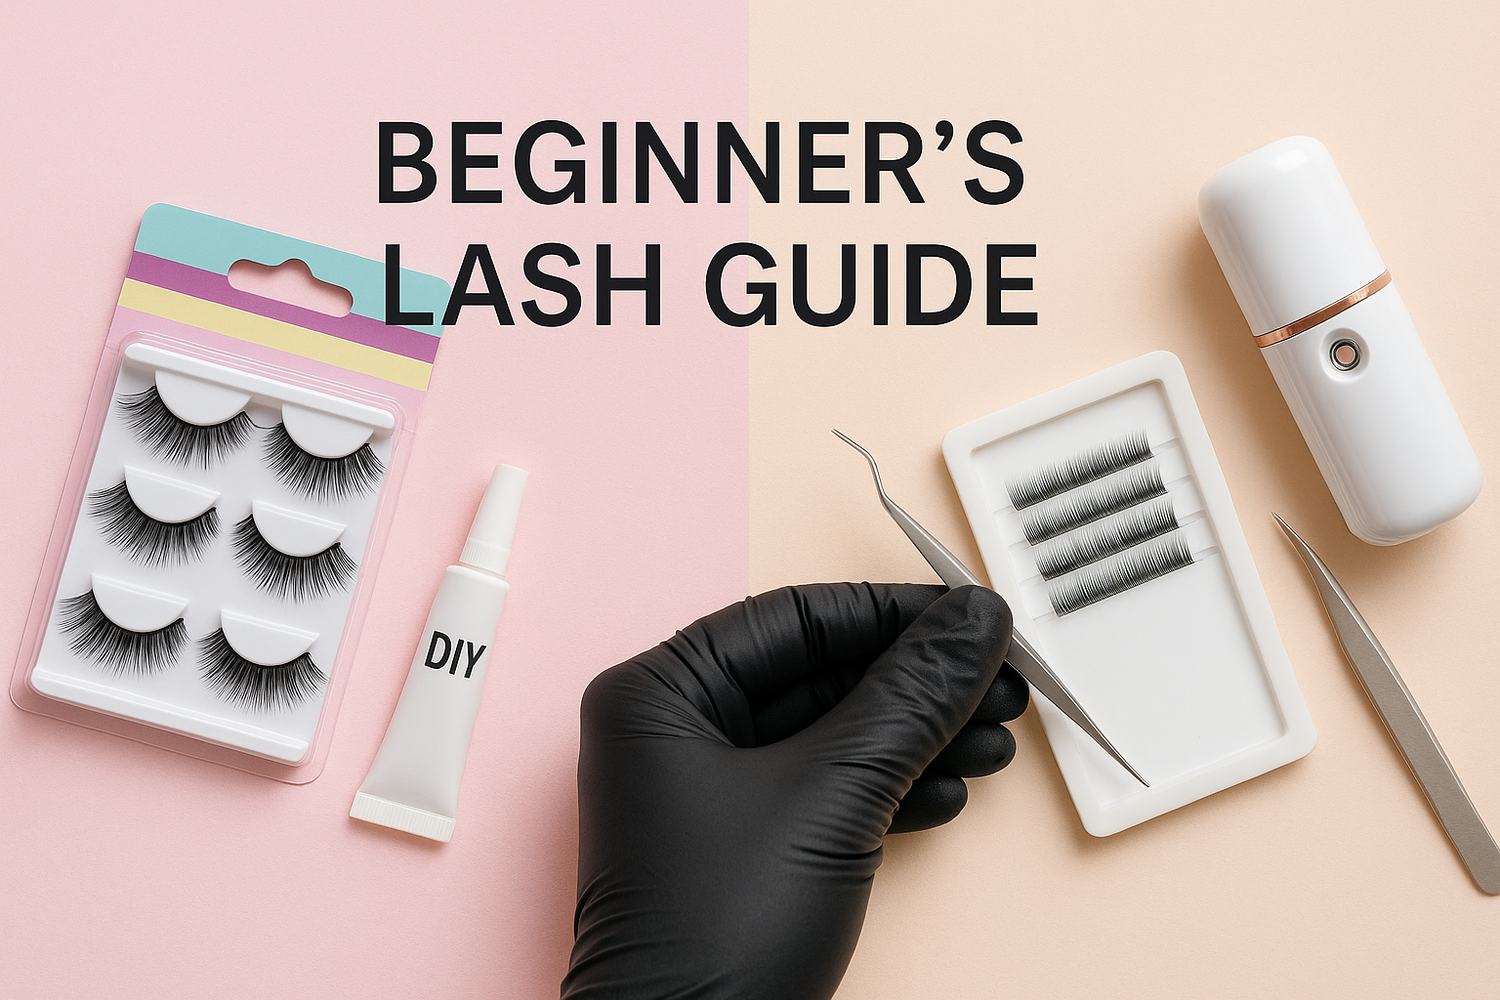
This guide will help beginners choose the most suitable eyelash solution, whether daily or professional, based on their budget, eye shape, and usage scenarios, to avoid common mistakes.

Drugstore False Lashes vs. Professional Lash Extensions
For beginners, the first decision is often whether to apply false eyelashes yourself or opt for salon lash extensions. Each has pros and cons:
-
Cost & Convenience: Drugstore false eyelashes (strip or cluster lashes bought at pharmacies or online) are very affordable. You can pick up a pack of false lashes or fake lashes for just a few dollars and apply them yourself with eyelash glue or magnetic eyeliner. In contrast, professional lash extensions (individual synthetic lash fibers bonded by a technician) cost much more. The initial application can cost $ 100 or more, and you typically need refills every 2–3 weeks.
-
Application: False lashes are a DIY solution. You glue or magnetize them onto your natural lash line at home (no salon visit needed). Salon extensions require a trained lash artist who attaches each fiber one-by-one – you lie down in a chair for 1–2 hours.

-
Longevity: False lashes are temporary – they wear off after one day, especially if you sweat or swim. You typically remove them nightly. Professional extensions are semi-permanent: they can last 2–3 weeks between salon fills, and hold up through showering, workouts, and sleeping.
-
Look & Style: Store-bought lashes come in hundreds of styles (wispy, volume, cat-eye, natural, colored, etc.). They offer instant drama or a natural boost, but quality varies. Lash salons can customize the look (classic length, hybrid, volume) to your eye shape, using medical-grade adhesive and matching curl/length.
In short, drugstore false lashes are budget-friendly and easy to try (“play makeup”), but require daily gluing and removal. Professional lash extensions last longer and look very natural, but cost more and need maintenance. One beauty expert notes: false lashes are a budget-friendly choice compared to extensions, while extensions “last for several weeks, saving the daily hassle” and even survive showering and swimming.
Choosing Lashes by Budget
Your budget heavily guides your choice:
-
Tight Budget: Stick with drugstore or “budget lashes”. Affordable brands (synthetic strip lashes, magnetic lash kits, or cluster lashes) let you experiment with style. A pack of strip lashes costs only a few dollars, and even good magnetic lashes can be very reasonable. You’ll apply them yourself, so no salon fees. Just remember to buy a quality lash glue and follow the instructions.
-
Mid–High Budget: If you have more to spend (or for a special event), consider investing in a better product or service. Examples: brand-name faux mink lashes, premade volume lashes, or professional extensions. For daily luxury, salon lash extensions give a polished look without daily effort. Over time, the cost adds up differently: repeatedly buying drugstore lashes can end up matching or exceeding the price of one set of salon lashes. One stylist even notes that if you wear falsies every day, “the money you’ll save compared to one-time wear lashes from the drugstore…will add up over time”.
-
Budget Tips: On a budget, you can also mix. For instance, buy a pack of good reusable strip lashes (many can be worn 3–5 times) instead of constantly buying new singles. Or try preglued/self-adhesive lashes (moderately priced and easier for beginners). Sales at drugstores and online can yield affordable false eyelash sets. Always check reviews—many cheap lash kits perform well.
Choosing Lashes by Eye Shape
Every eye shape has flattering lash styles. Here’s a quick guide (and see the table below):
-
Almond Eyes (most eye shapes!): Virtually any style works. For balance, go for lashes with even length/volume along the band. Wispy or classic full strips will look natural. A subtle cat-eye lash (longer at outer corners) can also accentuate the elegant almond shape.
-
Round Eyes: You want to lengthen the eyes. Choose lashes that are longer on the outer corners to create a gentle cat-eye effect. Wispy, flared styles or tapered lashes draw the eye horizontally, adding a flirtatious lift. Avoid overly dense full lashes that can make round eyes look smaller.
-
Hooded Eyes: Lashes that add length in the center help open up hooded lids. Pick styles with longer middle sections and shorter ends. Keep volume moderate so the lashes don’t disappear under the fold. (Heavy, ultra-long strips can overwhelm hooded eyes.) A natural curl is key to lifting the eyes.
-
Monolid or Small Eyes: The goal is to create dimension and curl. Opt for fluttery, layered lashes with crisscross fibers and a strong curl. These open up the eye area without a visible crease. Fans or clusters (magnetics or 5D flares) that you can place toward the outer half also work well.
| Best | Best Lash Style |
|---|---|
| Almond | Even-length strip lashes or wispy sets (balanced volume). Cat-eye styles also flatter the natural curve. |
| Round | Wispy, flared lashes are longer on the outer corners (cat-eye effect). Avoid extremely full lashes that shrink the eye shape. |
| Hooded | Lashes are longer in the center with tapered ends to lift the lid. Keep lashes shorter/moderate so they don’t hide under the fold. |
| Monolid/Small | Layered, flared lashes with curl (e.g., crisscross wispy styles) that open the eye. Individual clusters on corners can also add dimension. |
Choosing Lashes by Occasion
Match your lashes to the event:
-
Everyday/Natural Wear: Look for subtle, natural-style lashes. Many beginners prefer half-sets or demi-wispies (shorter lengths, sparse clusters) that blend with your real lashes. Key terms: “natural false eyelashes”, “everyday wispy lashes”, or “individual lashes” you can scatter. Neutral styles in a brown/black suit office or daytime looks. Many strip lashes are labeled “natural” or “nude” to suggest this.
-
Party/Evening: Go glam! Search for “dramatic false eyelashes” or “glam volume lashes”. Fuller, longer strips or 3D lashes with lots of fibers will pop in photos and in low light. Colored or glitter lashes can spice up a costume or club look. Hybrid lashes (mix of long and short) or heavy cluster lashes are favorites for parties. Don’t be afraid to experiment with 5D or Russian volume styles if you’re comfortable. Just ensure you have a strong glue on hand (visible-night events demand a firm hold!).
-
Special Events (Wedding, Prom): Brides and grads often want a balance of drama and durability. High-quality strip lashes or a salon lash extension are common choices. A natural-but-full style (sometimes called “bridal lashes”) that lasts 12–18 hours is ideal. (Some even get extensions ~1 week before the wedding for maintenance-free wear on the day.) If using falsies, pick hypoallergenic glue and maybe do a trial run to practice. Remember, you’ll likely take a lot of photos, so volume + curl are key, but avoid lashes so long they overshadow your eyes.
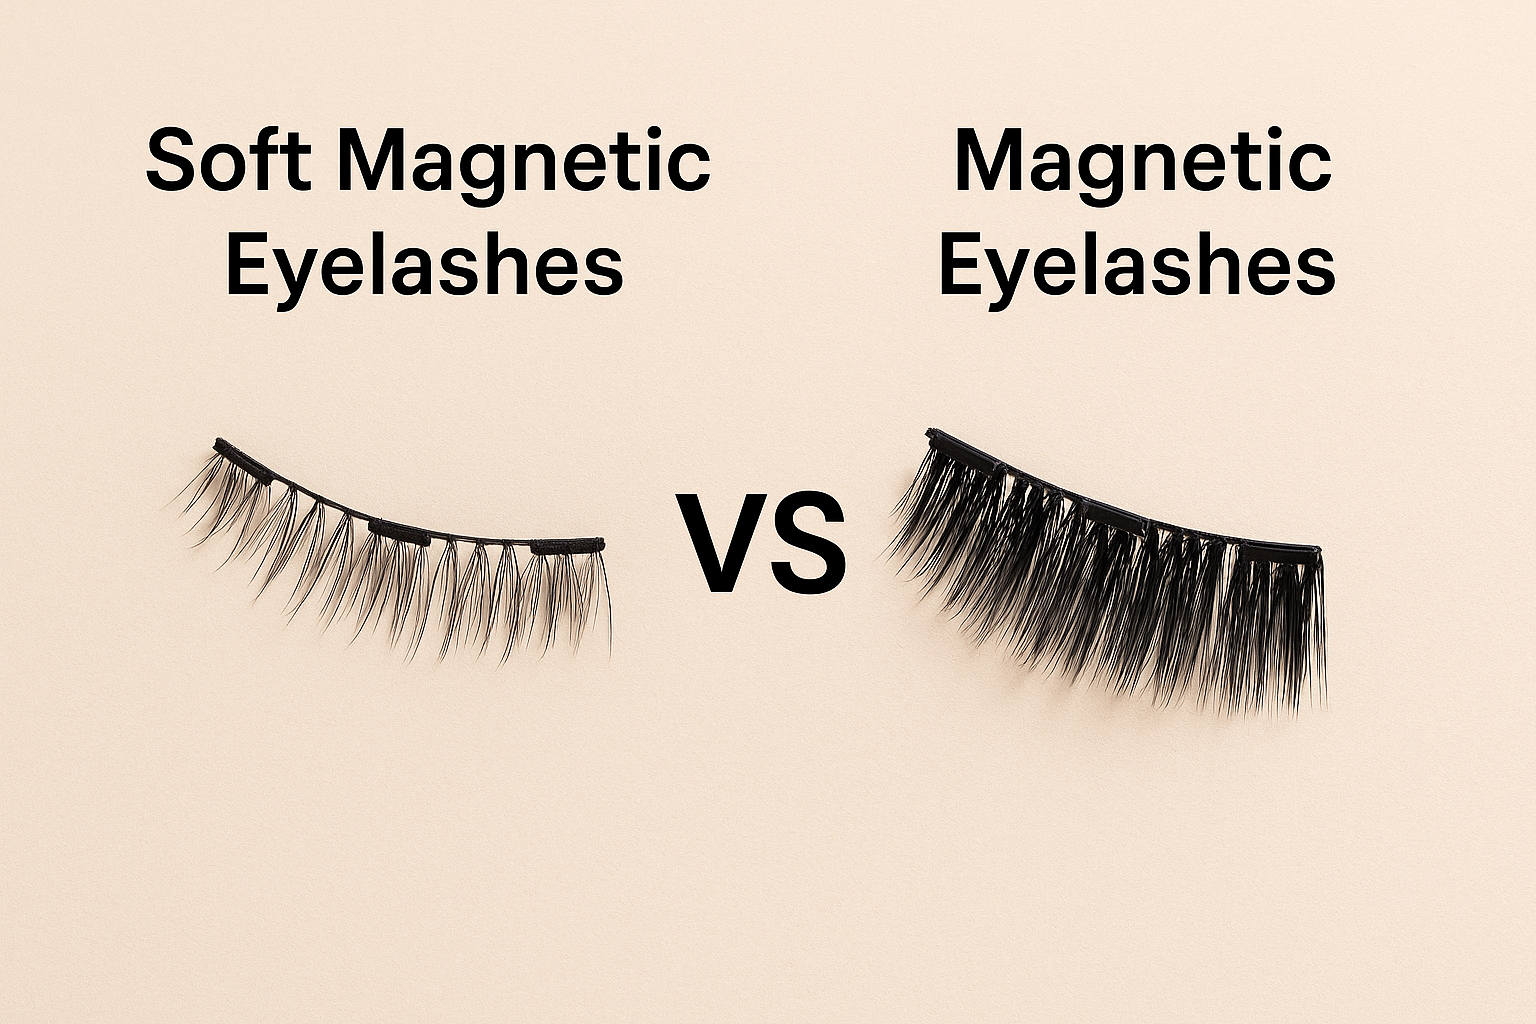
No matter the occasion, having a few styles on hand (subtle, medium, and full) means you can customize your look. Also consider application method: magnetic eyelashes are trendy for quick on/off wear (great for parties or trips), whereas adhesive strips are more secure for long events.
Lash Care & Precautions
False lashes (and extensions) require some care. Follow these dos and don’ts to keep your eyes healthy and lashes lasting:
-
Prep Carefully: Always start with a clean, dry eye area. Remove all eye makeup and facial oils before applying lashes. This helps the glue hold. Wash your hands first. If trying a new adhesive, do a 24-hour patch test on the skin (inner arm or behind the ear) to check for sensitivity. For extra safety, wait 10–15 minutes after gluing the strip to let it become tacky, which reduces the chance of sticky accidents.
-
Trimming: False lash strips often extend beyond your eye width. Measure them on your lash line and trim the ends so they fit comfortably (from the outer end). A well-trimmed lash is more natural and won’t poke the inner corner.
-
Gentle Application: Use tweezers or a lash applicator to place strip lashes close to your natural lash line. Press them gently in place from the middle to the ends. If using magnetic lashes, ensure even placement of the top and bottom strips over your lashes. Don’t use too much glue: a thin, even layer is enough.
-
Allergies & Glue: Eyelash glues contain strong adhesives (often formaldehyde or latex). Some people can react (redness, itching). If you feel burning or irritation when the glue touches your eyelid, remove the lashes immediately. In general, prefer latex-free or medical-grade glues if you have sensitive skin. A professional lash artist will almost always patch-test you if doing extensions, but at home, you must be cautious.
-
After Removal: Remove lashes slowly. Put a drop of oil-free eye makeup remover or coconut oil on the outer corner and let it soak for a few seconds – this loosens the glue. Then gently peel the lash strip off from the outer corner inwards. Never tug hard (you risk pulling out real lashes). If you wore extensions, use the salon’s recommended remover or your cleanser to dissolve the bond, and follow the artist’s aftercare (usually avoiding oils around the eyes).
-
Cleanse Eyelid: After taking off lashes, use a mild eye makeup remover or micellar water to wipe your eyelids and lashes clean. This removes leftover glue and makeup. A clean lid will help protect against infections. Greatist recommends using a cotton swab with eye remover to gently wipe any glue residue from your natural lashes and lid.
-
False Lash Care: To reuse strip lashes, clean them immediately after removal. In a gentle process, use tweezers to pick off the old glue from the band. Then, soak a cotton swab in rubbing alcohol or oil-free makeup remover and wipe along the lash band to dissolve remaining glue/makeup. Rinse briefly with water if needed (avoid soaking). Let the lashes air-dry (lay them in their original curved shape on a towel). NEVER rub or squeeze the lashes dry – handle them by the band only.
-
Storage: Store clean lashes in their original case or a lash holder to keep the curve and protect them from dust. Using the plastic tray they came on is a great option. Proper storage helps lashes last through multiple wears. In fact, with good care, synthetic lashes can be reused up to 3–5 times, and premium mink/silk lashes even more.
-
Discard When Worn: Any lash set with a frayed band, missing fibers, or excessive glue buildup should be tossed. Using very old lashes can irritate your eyes or harbor bacteria. One makeup artist advises: “If your lashes are really damaged or you just can’t remove some stubborn gunk, err on the side of caution and trash ’em”.
-
Don’t Share: Never share used eyelashes or mascara. Used lashes can carry bacteria or eye crud. Greatist warns that sharing used lash sets can spread infections. Always use your own sanitized lashes.
-
Avoid Oils: After applying lashes, avoid oil-based makeup removers or lotions on your eyes – oils can weaken most lash glues and cause lashes to lift prematurely. If you swim, shower, or sweat, be mindful that drugstore lashes may loosen in water. If you choose extensions, inform your stylist of your lifestyle (some salons use stronger bonds for swimmers or sweaty individuals).

Following these steps will keep your eyes safe and your lashes looking great. Remember: gentleness is key. Take your time with application and removal, and treat false lashes as reusable beauty tools, not disposables. With practice and care, choosing and wearing lashes becomes much easier.
Key Takeaways: False lashes come in many types (strip, individual, magnetic, volume, etc.), so pick what matches your skills and wallet. Drugstore lashes are cheap and varied; professional extensions last longer but cost more. Match lash length/shape to your eye shape and event. Always prep eyes, handle lashes gently, and clean/store them properly. And when in doubt, do a patch test and consult professionals for major treatments. Enjoy your fluttery new look!