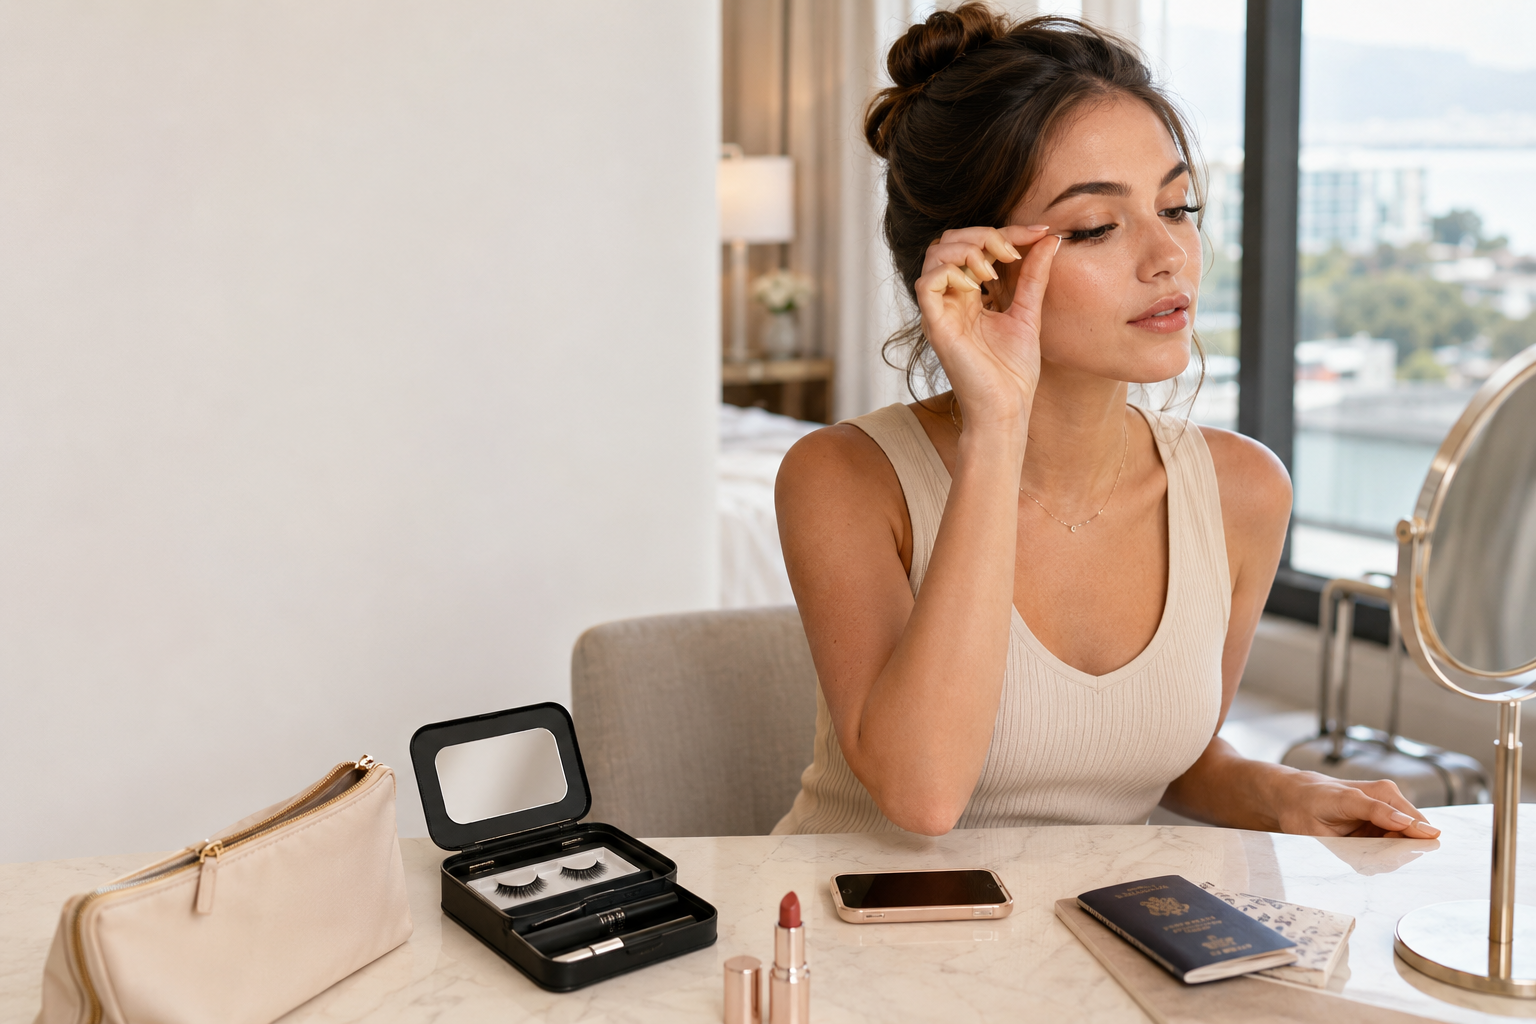

Applying false lashes can feel intimidating when you are new to them. The lash looks perfect in the package, but once you pick up the glue, the applicator, and the mirror, everything suddenly feels more complicated.
That is exactly why soft magnetic lashes have become popular with beginners. They remove the messiest part of the process: lash glue. Instead of applying adhesive to your lash line and waiting for it to become tacky, soft magnetic lashes use tiny magnets to clip around your natural lashes.
If you want a faster, cleaner way to finish your eye makeup, this tutorial will show you how to apply soft magnetic lashes without glue, how to check whether they feel secure, and how to remove them gently at the end of the day.
Calailis Soft Magnetic Eyelashes are designed as a no-glue lash option with a magnetic applicator, soft magnets, and lightweight lash styles for a natural-looking finish. The product page highlights quick application, soft wear, and reusable use with proper care.
What Are Soft Magnetic Lashes?
Soft magnetic lashes are false lashes that use small magnets instead of lash glue.
Unlike traditional glue-on strip lashes, soft magnetic lashes do not need adhesive along the eyelid. Unlike magnetic eyeliner lashes, they also do not require magnetic liner. Instead, they usually come with upper and lower lash pieces that clip together around your natural lashes.
The basic idea is simple:
- Place one lash piece above your natural lashes.
- Place the matching piece below your natural lashes.
- Let the magnets connect.
- Check the placement and comfort.
CA’s existing soft magnetic lash guide describes this as a “sandwich” method, where your natural lashes sit between the upper and lower magnetic lash strips; the same guide notes that clip-on soft magnetic lashes can be applied with an applicator in about three seconds when placed correctly.
That does not mean your first try will always be perfect in three seconds. Beginners still need a little practice. But compared with glue-on lashes, the process is usually cleaner and less stressful.
Why Apply Lashes Without Glue?
Lash glue is useful, especially for strip lashes and cluster lashes. But for beginners, it can create a few common problems:
- The glue gets on the eyelid.
- The lash slides around before the glue dries.
- The inner corner lifts.
- The lash band dries crooked.
- The glue leaves residue after removal.
- The user pulls too hard while removing the lash.
Soft magnetic lashes avoid many of those beginner issues because there is no adhesive step. You do not need to guess when the glue is tacky, and you do not need to clean dried glue off the lash band after each wear.
This makes no-glue lashes useful for:
- quick morning makeup
- travel makeup
- outdoor events
- date-night looks
- beginners who struggle with steady hands
- people who want a cleaner lash routine
Still, “no glue” does not mean “no care needed.” False lashes sit close to the eyes, so clean tools, gentle placement, and proper removal still matter. The FDA reminds users that the eyelids are delicate and that false eyelashes, eyelash extensions, and their adhesives are cosmetic products; it also advises users to check ingredients and stop using eye cosmetics if irritation occurs.
What You Need Before You Start
Before applying soft magnetic lashes, prepare everything first. A simple setup makes the process easier.
You will need:
- soft magnetic lashes
- magnetic lash applicator
- clean mirror
- eyelash curler
- light mascara, optional
- cotton swab, optional
- clean lash storage case
For the easiest first try, apply your lashes in good lighting and use a mirror you can angle slightly below your face. Looking slightly downward helps you see your natural lash line more clearly.
Avoid applying lashes when your eyelids are oily, wet, or covered in heavy skincare. Clean, dry lashes give the magnetic pieces a better base to grip.
Step 1: Start With Clean, Dry Natural Lashes
Begin with clean lashes and eyelids.
Remove leftover mascara, eyeliner, oil, sunscreen, or eye cream from the lash line. If there is too much oil or residue around the eyes, the lash pieces may not sit as close to your natural lash line.
You do not need to over-clean or scrub. Just make sure the eye area feels dry and comfortable before you begin.
Beginner tip:
If you just finished skincare, wait a few minutes before applying lashes. Heavy eye cream or facial oil can make lash placement harder.
Step 2: Curl Your Natural Lashes Lightly
Use an eyelash curler to gently lift your natural lashes.
This step helps your natural lashes blend better with the magnetic lashes. It also gives the upper and lower lash pieces a better shape to hold around.
Do not over-curl. A soft curl is enough.
If your natural lashes point downward, curling can make a big difference. It helps the magnetic lash sit closer to your lash line instead of pointing straight out or down.
Step 3: Apply a Light Coat of Mascara, If Needed
Mascara is optional.
Some beginners like applying a very light coat of mascara before magnetic lashes because it gives the natural lashes a little more texture. This can help the magnetic pieces grip and blend more easily.
However, avoid heavy mascara. Clumpy lashes can make placement harder and may make the final look less natural.
Best approach:
- use one light coat
- avoid wet, thick mascara
- Let mascara dry before applying magnetic lashes
- do not overload the lash tips
For a natural daily look, you may not need mascara at all. If your magnetic lashes already blend well with your natural lashes, skip it.
Step 4: Identify the Upper and Lower Lash Pieces
Before you place anything near your eye, look at the lash pieces carefully.
Most soft magnetic lash sets include an upper piece and a lower piece for each eye. The magnets need to face each other correctly so they can connect.
Take a moment to check:
- Which pieces belong to the left eye?
- Which pieces belong to the right eye?
- Which piece goes above the natural lashes?
- Which piece goes below the natural lashes?
- Are the magnets facing the correct direction?
This small step prevents a lot of beginner frustration.
If the magnets do not connect easily, do not force them. Check whether the pieces are matched correctly and facing the right way.
Step 5: Place the Lashes on the Applicator
Next, place the magnetic lash pieces onto the applicator.
The upper lash piece usually sits on the top arm of the applicator, and the lower piece sits on the bottom arm. When you close the applicator, the two magnetic pieces should meet around your natural lashes.
Make sure the lash pieces are aligned before bringing the applicator close to your eye. If one piece sits too far forward or backward, the magnets may connect unevenly.
Beginner tip:
Practice closing the applicator once or twice before placing it near your eye. This helps you understand the movement before you apply the lashes.
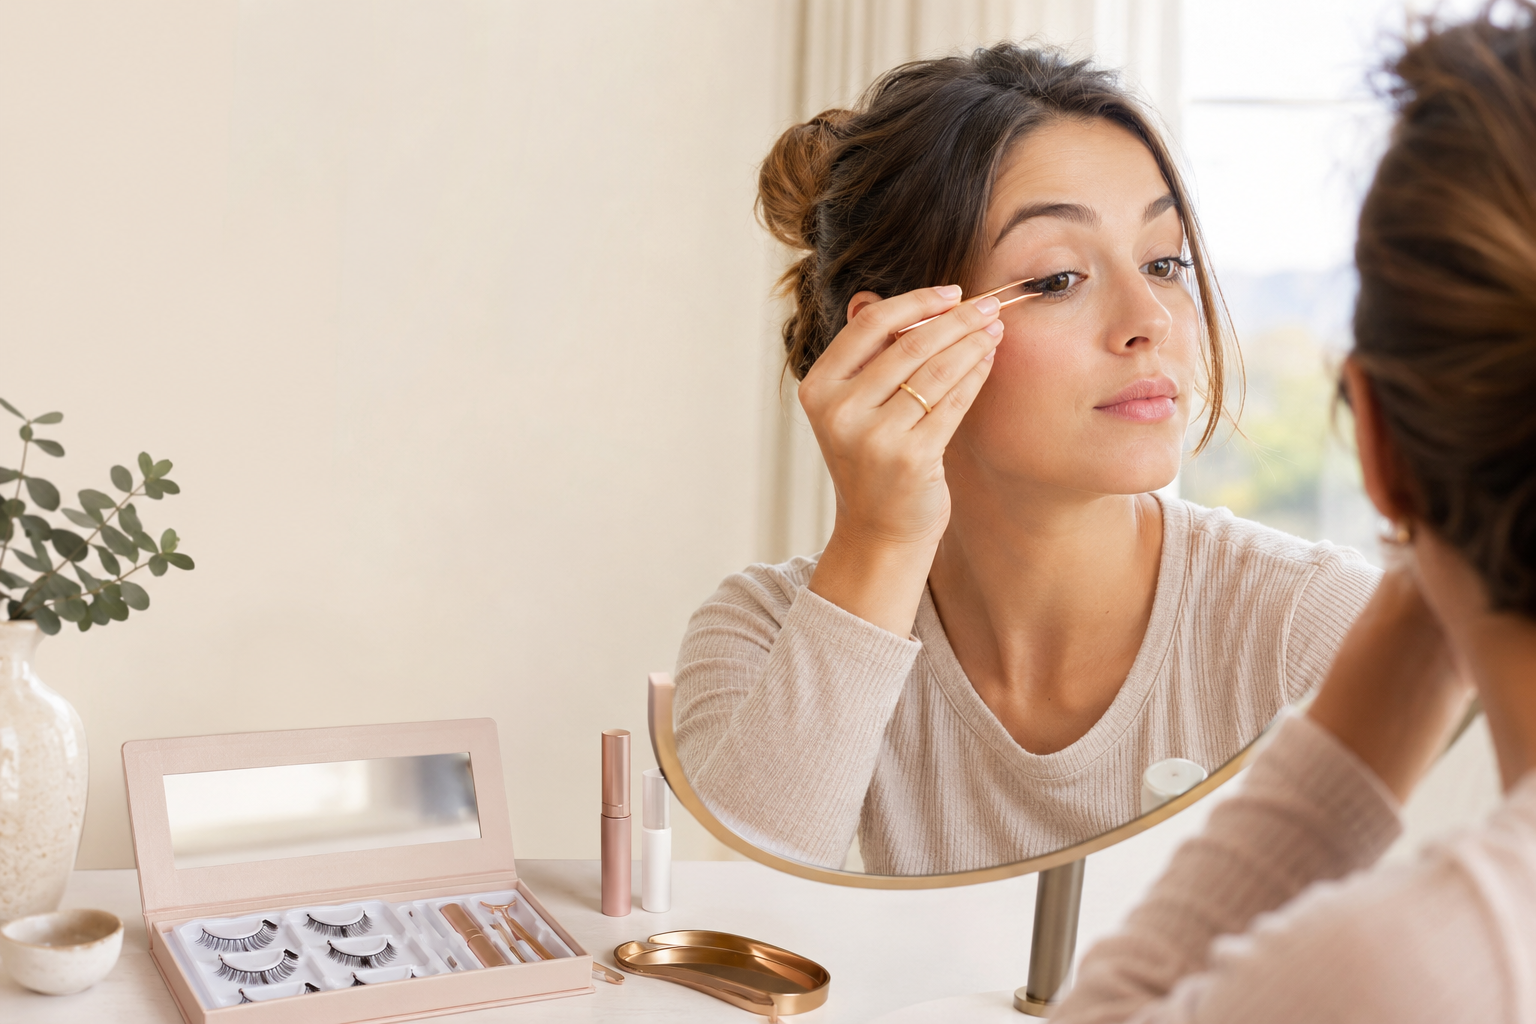
Step 6: Look Slightly Down Into the Mirror
This is one of the most important beginner tips.
Instead of looking straight ahead, place your mirror slightly below eye level and look downward. This gives you a better view of your lash line while keeping your eyelid relaxed.
Try not to raise your eyebrows too much. A relaxed eyelid makes placement easier.
You want the magnetic lashes to sit close to your natural lash line, but not on the waterline. They should feel secure, not sharp or pinching.
Step 7: Clip the Magnetic Lashes Around Your Natural Lashes
Now bring the applicator close to your lash line.
Place the upper magnetic lash piece above your natural lashes. Then gently close the applicator so the lower piece connects from below.
The magnets should snap together softly around your natural lashes.
Do not squeeze too hard. The goal is gentle placement, not pressure.
Once the magnets connect, release the applicator slowly and check the lash.
If the lash sits too far from your lash line, remove it and try again. It is better to adjust immediately than to keep wearing a lash that feels loose or looks uneven.
Step 8: Blink and Check Comfort
After applying one eye, pause.
Blink several times. Look left, right, up, and down. Smile and move your face naturally.
Ask yourself:
- Does the lash feel secure?
- Is the inner corner comfortable?
- Does anything feel sharp?
- Does the lash feel too heavy?
- Does it sit close enough to the lash line?
- Does it match the other eye?
If the lash feels uncomfortable, remove it and reapply. False lashes should not hurt. If your eyes feel irritated, red, itchy, or swollen, stop using the product.
This comfort check is especially important before wearing lashes outside for travel, outdoor plans, or date night.
Step 9: Blend the Lash Look
Once both lashes are applied, check the final look in front-facing light.
To make soft magnetic lashes look more natural, you can:
- brush your natural lashes lightly upward
- add a thin line of eyeliner if needed
- use soft brown or black shadow near the lash line
- avoid heavy eyeliner if you want a clean daytime look
- gently press the natural lashes and magnetic lashes together with clean fingers or a lash tool
The goal is not to hide the lashes completely. The goal is to make them look like they belong with the rest of your makeup.
For fast makeup, keep the rest of the eye simple. A little concealer, brow gel, soft shadow, and magnetic lashes can create a finished look without a full glam routine.
Step 10: Remove the Lashes Gently
At the end of the day, remove your soft magnetic lashes gently.
Do not pull them straight off. Do not tug at your natural lashes.
Instead:
- Hold the lash close to the base.
- Gently separate the magnetic pieces.
- Slide them apart carefully.
- Place them back in the case.
- Check for makeup residue before storing.
Because soft magnetic lashes do not use glue, removal is usually cleaner than glue-on lashes. But gentle handling still matters. Pulling too hard can irritate your lash line or tug at your natural lashes.
Common Mistakes When Applying Soft Magnetic Lashes
Even though soft magnetic lashes are beginner-friendly, a few mistakes can make them harder to wear.
Mistake 1: Applying Them Too Far From the Lash Line
If the lash sits too far away from your natural lash line, it may look obvious or feel loose.
Fix:
Use a mirror below eye level and place the applicator as close to the base of your natural lashes as comfortably.
Mistake 2: Choosing a Lash Style That Is Too Dramatic
Long, dense lashes can feel heavy, especially for first-time users.
Fix:
Start with a natural, wispy style. Once you are comfortable with placement, you can try more dramatic looks.
Mistake 3: Rushing the First Try
Soft magnetic lashes are fast once you learn the movement, but the first few tries should be slower.
Fix:
Practice at home when you are not in a hurry. Do not make your first attempt five minutes before a date, trip, or outdoor event.
Mistake 4: Not Checking the Inner Corner
If the inner corner sits too close to the tear duct, the lash may poke or feel uncomfortable.
Fix:
Leave a tiny space at the inner corner. The lash should define your eyes, not scratch them.
Mistake 5: Wearing Them Without a Comfort Test
A lash may look fine in the mirror, but feel uncomfortable once you blink and move.
Fix:
Always blink, smile, and look around before leaving the house.
Mistake 6: Storing Lashes Loose in a Makeup Bag
Loose lashes can bend, collect dust, or lose their shape.
Fix:
Store them in their original case after each wear. This helps protect the lash curve and keeps the magnets cleaner.
How to Make Magnetic Lashes Look Natural
The easiest way to make magnetic lashes look natural is to choose the right style before you apply them.
For beginners, look for:
- lightweight lash fibers
- soft curl
- wispy spacing
- medium length
- flexible fit
- a style that is not too dense at the inner corner
Calailis Soft Magnetic Eyelashes are positioned around a natural-looking finish, lightweight wear, and soft magnetic application. The product page also lists lash style options such as Frisky Flutter, Silky Puff, RC03, and RC04, which give users a few different looks to choose from.
To make them blend better:
- curl your natural lashes first
- use a light coat of mascara if needed
- avoid thick eyeliner unless the lash base needs blending
- choose soft eye makeup rather than heavy shadow
- check the final look in natural light
For everyday makeup, the best result is usually not “big lashes.” It is eyes that look lifted, awake, and balanced.
How to Apply Soft Magnetic Lashes for Different Scenarios
For Everyday Makeup
Keep everything soft. Curl your lashes, apply the magnetic lashes, and use minimal eyeliner or shadow.
Best lash look: natural, wispy, lightweight.
For Travel
Practice before your trip. Pack the lashes in their case and keep the applicator with them.
Best lash look: reusable, easy to remove, not too dramatic.
For Outdoor Plans
Do a wear test before the event. Blink, walk around, and check how the lashes feel after an hour.
Best lash look: lightweight, secure, comfortable.
For Date Night
Choose a lash that lifts the outer corner without overwhelming the eye. You want definition, not a costume effect.
Best lash look: soft, lifted, slightly fuller at the outer corner.
For Beginners Practicing at Home
Do not worry about making both eyes perfect immediately. Focus on learning the applicator angle first.
Best lash look: the easiest pair in your set.
Troubleshooting: Why Your Magnetic Lashes Are Not Working
They Keep Sliding Down
Possible causes:
- the magnets are not aligned
- the lash is too far from the lash line
- the style is too heavy
- your natural lashes are too wet or oily
Try reapplying with clean, dry lashes and a closer placement.
They Feel Pinchy
Possible causes:
- the lash is too close to the waterline
- the magnets are placed unevenly
- the lash is not matched to your eye shape
Remove and reapply. If it still feels uncomfortable, stop wearing them.
They Look Uneven
Possible causes:
- one lash is placed higher than the other
- one outer corner is angled differently
- the lash pieces are not matched correctly
Apply one eye at a time and check straight ahead in the mirror.
They Look Too Dramatic
Possible causes:
- the lash style is too long
- the lash is too dense
- your eye makeup is too heavy for the lashes
Try a softer style or pair the lash with lighter eye makeup.
Can You Reuse Soft Magnetic Lashes?
Yes, soft magnetic lashes are reusable when handled properly.
Calailis highlights reusability for its soft magnetic lashes with proper care, which makes them useful for beginners who need practice before getting the application right.
To keep them reusable:
- remove them gently
- avoid pulling the lash fibers
- keep the magnets clean
- do not sleep in them
- store them in the case
- avoid crushing them in a makeup bag
- replace them if they lose shape or feel uncomfortable
Good storage is part of good lash application. A bent lash is harder to apply neatly.
Should You Use Lash Glue Instead?
Lash glue is still useful, but it depends on the look you want.
Use soft magnetic lashes if you want:
- no-glue application
- faster makeup
- cleaner removal
- natural daily looks
- travel-friendly lashes
- beginner practice
Use lash glue if you want:
- cluster lash looks
- more customized placement
- stronger hold for a specific makeup look
- fuller or more dramatic lash styles
Calailis Long-Lasting Cluster Lash Glue is designed for cluster lash application and highlights precise use, waterproof and sweat-proof wear, and long-lasting hold.
For complete beginners, though, soft magnetic lashes are usually the easier starting point. Once you are comfortable with lash placement, you can decide whether glue-based cluster styles fit your routine.
Final Beginner Routine
Here is the simplest version:
- Clean and dry your natural lashes.
- Curl lightly.
- Add a thin coat of mascara if needed.
- Match the upper and lower magnetic lash pieces.
- Place them on the applicator.
- Look slightly downward into a mirror.
- Clip the lashes close to your natural lash line.
- Blink and check comfort.
- Adjust if needed.
- Remove gently and store in the case.
That is it.
Soft magnetic lashes are not difficult once you understand the placement. The first try may take a few minutes, but the routine gets faster with practice.
If you want an easier way to wear false lashes without glue, start with Calailis Soft Magnetic Eyelashes. They are designed for quick, no-glue application, natural-looking definition, and beginner-friendly wear. For users who later want more customized cluster lash looks, Calailis Long-Lasting Cluster Lash Glue can be introduced as a more advanced option.
FAQ
Do soft magnetic lashes need glue?
No. Soft magnetic lashes use tiny magnets to clip around your natural lashes, so they do not require lash glue.
Do I need magnetic eyeliner for soft magnetic lashes?
Not usually. Soft magnetic clip-style lashes are different from magnetic eyeliner lashes. They use upper and lower magnetic lash pieces instead of a magnetic liner.
How long does it take to apply magnetic lashes?
Once you are used to the applicator, magnetic lashes can be applied quickly. Beginners may need a few practice tries before the process feels smooth.
Why do my magnetic lashes not stay close to my lash line?
They may be placed too far from the lash base, the magnets may not be aligned, or your natural lashes may have too much oil or wet mascara on them.
Can I wear magnetic lashes for travel?
Yes. Soft magnetic lashes are a good travel option because they are reusable, compact, and do not require lash glue for simple makeup looks.
How do I remove soft magnetic lashes?
Gently separate the magnetic pieces instead of pulling straight outward. Store the lashes in their case after removal.
Are soft magnetic lashes good for beginners?
Yes, they can be a beginner-friendly option because they skip the glue step and are easier to practice with than traditional glue-on strip lashes.