
A Must for Beginners - How to Apply & Remove DIY Cluster Lashes
DIY everything is trending right now, no matter what platform you’re scrolling on. Well, everything is when it's "new" to you, you may feel it is a hard project. All you need is some APPLICATION SUPPORT, so let's get started!
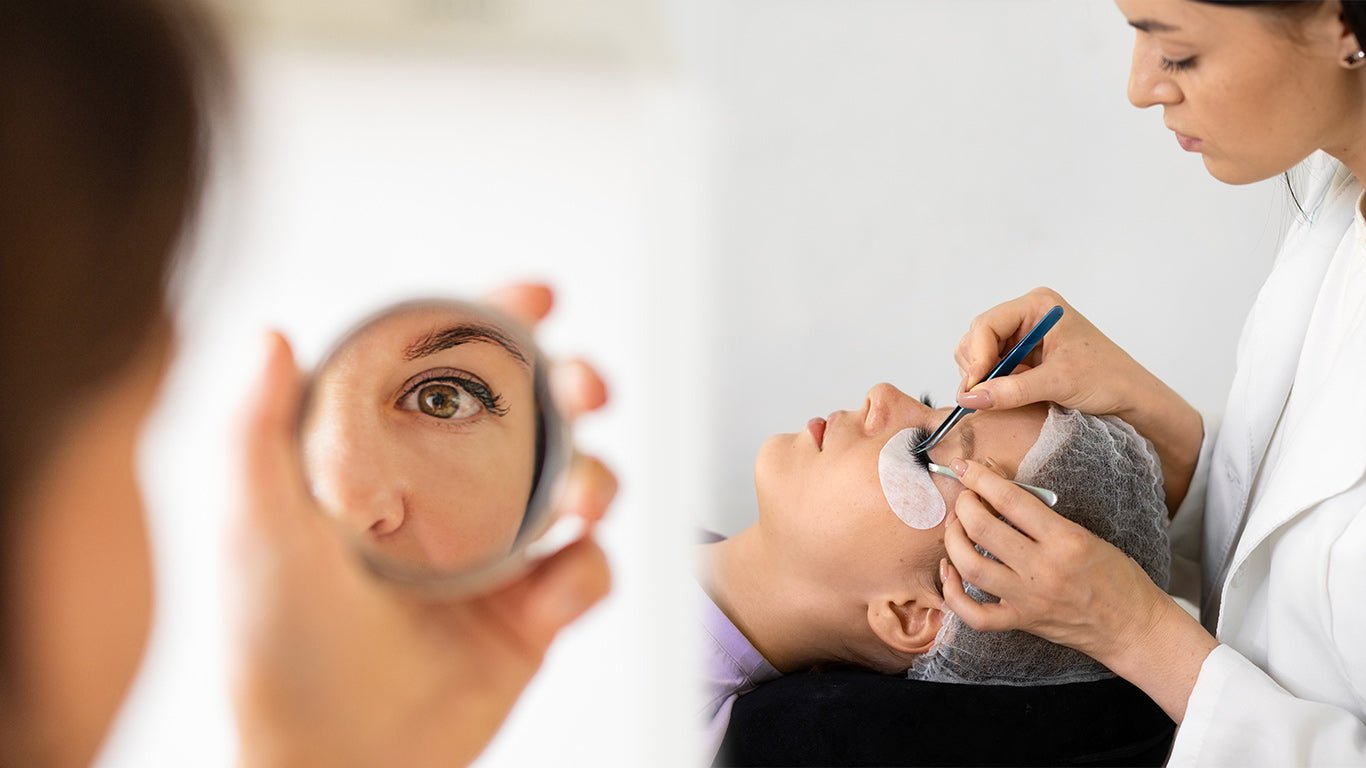
PREP:
- Mirror
- DIY Cluster Lashes
- Lash Adhesive
- Applicator Tool
- Lash Sealer
TIPS BEFORE APPLYING:
- Amust is clean lashes. If you have oily eyelids, be sure to clean it with some micellar water.
- Make sure you have good lighting where you can see theroots of your natural eyelashes.
- Sit down, put what you need on the table, and have your elbows resting on the table (this really helps).
- Decide whether to work from the inneror outer corner of your eyes.
- DO NOT apply clusters on the waterline. Place them 1-2mm above the waterline
STEPS TO APPLY
STEP 1 - CLEANING
Prep your lashes by cleaning off any leftover makeup or oils.
STEP 2 - GLUE
Method 1: Starting with ONE eye, brush a light coat of LONG-LASTING CLUSTER LASH GLUE through your natural lashes like using mascara.
Method 2: Hold one lash cluster with your lash applicator; use the other hand to apply a small amount of adhesive to the lash cluster, covering the entire base of the lash.

STEP 3: GRAB THE LASHES
Use tweezers to gently grab one piece of the lash cluster at the root and pick it up, then adjust the grip to grab the tip of the lash segment instead of the band.

STEP 4: PLACE LASHES
With your elbows resting on the table, lift your eyelid with one hand and with the other hand holding the applicator to apply the lash segment in any way you prefer.
The lash cluster should be placed as close to the waterline as possible but leave at least 2mm of space between the lashes and the waterline.

STEP 5: REPEAT
Repeat the steps above for the other lash clusters to complete the entire set.
Repeat the same steps on the other eye.
STEP 6: FUSE
Use the lash applicator to pinch together your natural lashes and cluster lashes together.

STEP 7: SEAL
Brush a light coat of LASH SEALER at the base of clusters to lock them in place for 3-5 days.

READY FOR REMOVAL?
PREP:
- Lash Glue Remover
- Lint-Free CottonPad
- Q-Tips
EASY TO REMOVE
STEP 1:
Saturate a cotton pad with lash glue remover. Hold it over your lash line to start dissolving the glue (about 30 seconds).
You can also dab it over the lash line with a Q -tip and then let it sit.

STEP 2:
Gently wipe downwards to remove the glue and the cluster lashes.

STEP 3:
Your cluster lashes should fall off along with the adhesive.
If needed, take a Q-tip and drip 1-2 drops on there. Take the Q-tip with remover and remove any remaining adhesive on your natural lashes.